
Table of Contents
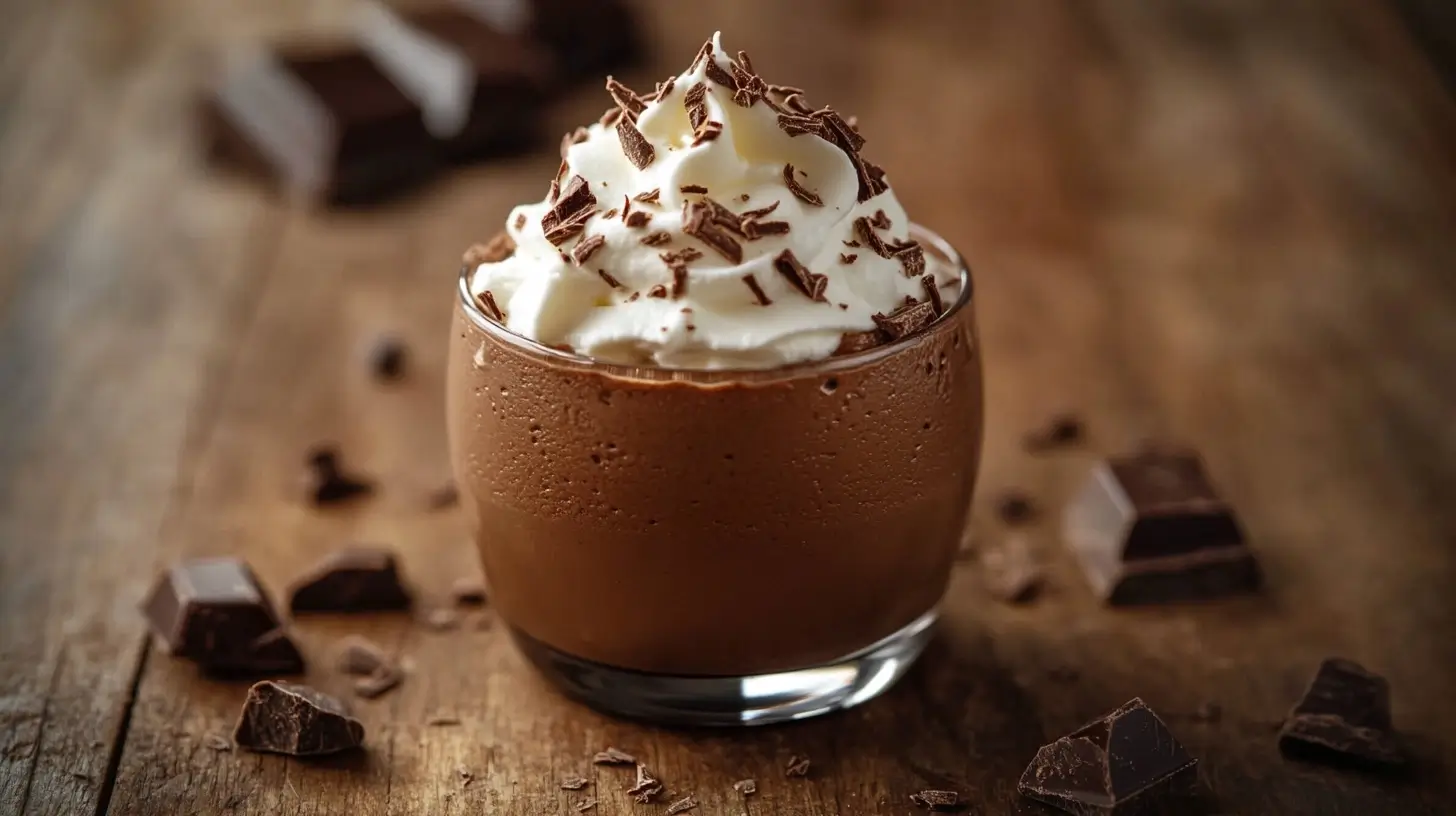
Ever had one of those days where you just need a spoonful of something rich, creamy, and chocolatey to turn things around? That’s exactly what happened to me one rainy Saturday afternoon. I remembered my grandma’s famous chocolate mousse cups:light, fluffy, and unbelievably satisfying. It was her go-to dessert for family dinners and special occasions, and now, it’s mine too.
What makes these Chocolate Mousse Cups so special? They’re not just easy to make, they’re also delightfully indulgent without being overly sweet. Whether you’re prepping for a fancy dinner party or just treating yourself after a long day, these Chocolate Mousse Cups are your answer.
With just a handful of ingredients and 7 simple steps, you can whip up a dessert that feels gourmet but is foolproof enough for any home cook.
Ingredients Breakdown & Substitutions
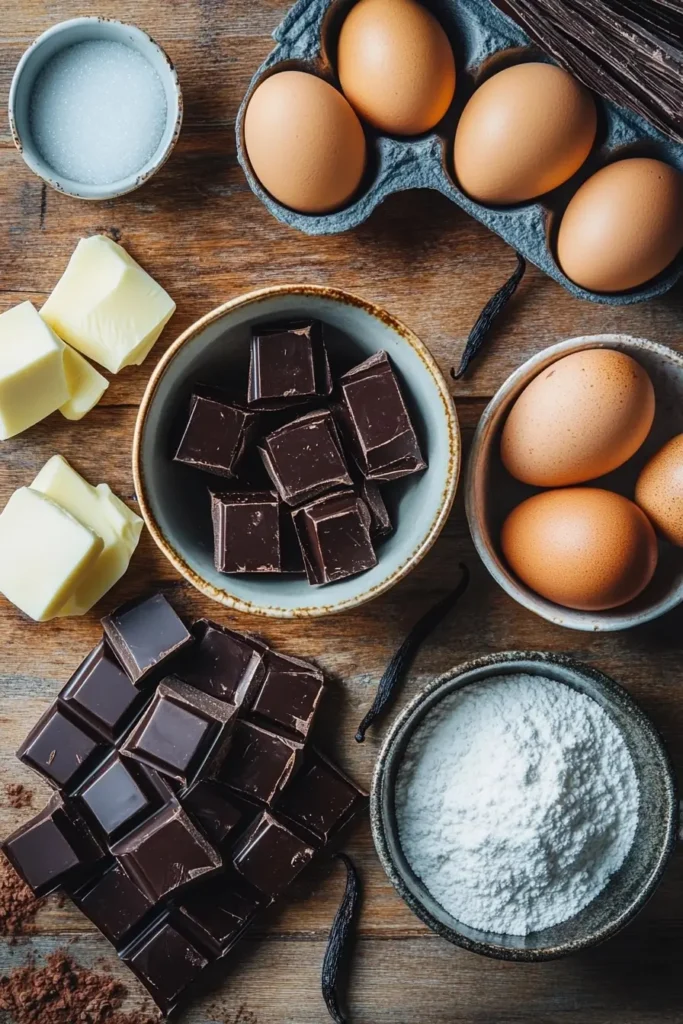
Here’s everything you need to make the perfect Chocolate Mousse Cups:
- Dark Chocolate (70% cocoa) : Rich flavor base.
Substitute: Vegan chocolate or milk chocolate for a milder taste. - Heavy Cream : Whips into that airy texture.
Substitute: Coconut cream for a dairy-free option. - Eggs (separated) : Yolks enrich the base; whites add fluffiness.
Substitute: Aquafaba for egg-free mousse. - Sugar : Just enough to balance the dark chocolate.
Substitute: Maple syrup or stevia for a refined sugar-free version. - Vanilla Extract : Enhances depth of flavor.
Optional but recommended. - Pinch of Salt : Intensifies the chocolate notes.
Where to Buy Specialty Ingredients:
Most major grocery stores in the USA carry these basics. For high-quality chocolate or vegan alternatives, check Whole Foods, Trader Joe’s, or Thrive Market.
Step-by-Step Instructions with Expert Tips
Step 1: Melt the Chocolate
Break the dark chocolate into small chunks and melt gently in a heatproof bowl over a pot of simmering water (double boiler method). Tip: Stir constantly to avoid scorching the chocolate.
Step 2: Separate Your Eggs
Carefully divide the yolks and whites into two clean bowls. Tip: Make sure no yolk gets into the whites, or they won’t whip properly.
Step 3: Whip the Cream
In a chilled bowl, whip your heavy cream until soft peaks form. Troubleshooting: If the cream won’t whip, it might be too warm. Chill your bowl and try again.
Step 4: Whip the Egg Whites
Use a clean whisk to beat the egg whites to stiff peaks, adding a pinch of salt halfway through. Pro Tip: Use a glass or metal bowl for better results.
Step 5: Temper the Egg Yolks
Slowly whisk a spoonful of warm melted chocolate into the yolks to avoid scrambling. Then add the rest of the chocolate. Why it matters: This step ensures smooth, creamy texture without lumps.
Step 6: Fold in the Cream
Gently fold the whipped cream into the chocolate mixture. Key Action: Use a spatula and fold, don’t stir, to maintain airiness.
Step 7: Fold in the Egg Whites
Lastly, fold in the whipped egg whites until just combined. Avoid Overmixing: A few white streaks are fine. Overmixing deflates the mousse.
Spoon into cups, ramekins, or glasses and chill for at least 2 hours.
Why This Chocolate Mousse Cups Recipe Is a Must Try
- Beginner-Friendly: No fancy tools or baking required.
- Quick Prep: Ready in just 30 minutes (plus chill time).
- Customizable: Dairy-free, sugar-free, and vegan options available.
- Creamy Texture: Silky smooth with a fluffy finish.
- Rich Flavor: Perfect balance of bittersweet chocolate and light sweetness.
- Great for Make-Ahead: Ideal for prepping the day before.
- Elegant Presentation: Looks gourmet in clear cups or glasses.
Storage, Make-Ahead & Freezing Tips
- Refrigerator: Store mousse cups in an airtight container for up to 4 days.
- Freezer: Freeze for up to 2 months. Thaw overnight in the fridge before serving.
- Make-Ahead: Prepare the night before your event for best flavor and texture.
- Leftover Ideas:
- Spread on toast like chocolate butter.
- Layer into trifles or parfaits.
- Use as cake or cupcake filling.
Pro Tip: Cover each cup with plastic wrap to prevent drying or absorbing fridge odors.
Creative Variations & Serving Ideas
- Mocha Mousse Cups: Add 1 tsp instant espresso to the chocolate.
- Spicy Mexican Chocolate: Mix in a pinch of cinnamon and chili powder.
- Minty Delight: Add a few drops of peppermint extract.
- Nutty Crunch: Top with chopped hazelnuts or almonds.
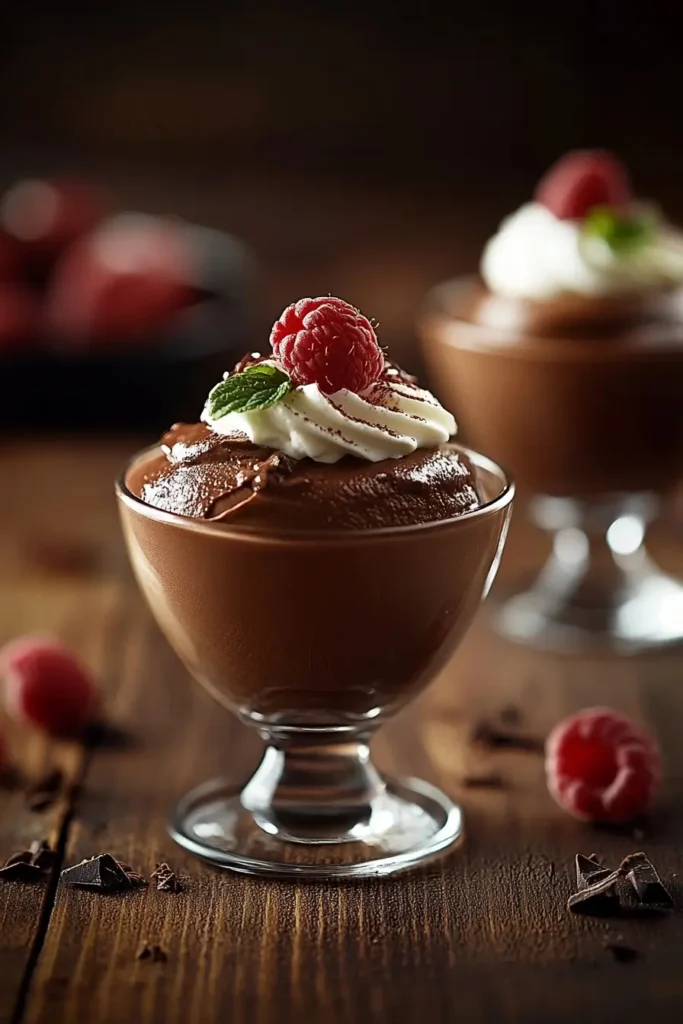
- Fruit Fusion: Serve with fresh raspberries or strawberries.
- Holiday Twist: Add orange zest and serve with crushed candy canes.
Chocolate Mousse Cups Serving Suggestions:
- Pair with espresso or cappuccino.
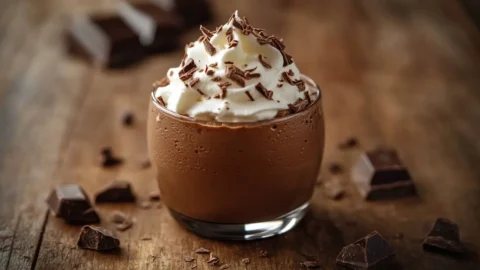
- Garnish with whipped cream and dark chocolate shavings.
- Serve in mini cups for party-sized bites.
Nutrition Value Of Chocolate Mousse Cups
| Nutrient | Amount per Serving (approx.) |
| Calories | 310 |
| Protein (g) | 5.2 |
| Carbohydrates (g) | 22.5 |
| Fat (g) | 24 |
| – Saturated Fat (g) | 14.3 |
| – Unsaturated Fat (g) | 8.7 |
| Fiber (g) | 2.8 |
| Sugar (g) | 16 |
| Vitamin A | 12% DV |
| Iron | 10% DV |
| Calcium | 6% DV |
- Serving Size: 1 standard ramekin (about 150ml)
- Dietary Notes:
- Gluten-free
- Can be dairy-free or keto with adjustments
Nutrition info calculated using USDA FoodData Central. These values are estimates.
Expert Tips
- Use Room Temp Eggs: Cold eggs are harder to whip and blend.
- Choose Quality Chocolate: The flavor shines through, so don’t skimp.
- Chill Equipment: A cold bowl makes cream whip faster and fluffier.
- Don’t Overmix: Gently folding preserves the mousse’s airiness.
- Let It Chill: At least 2 hours in the fridge for full set and flavor.
- Use Clear Cups: Looks more appealing and shows off the texture layers.
- Batch Prep: Double the Chocolate Mousse Cups recipe for parties or events.
FAQs
Can I make Chocolate Mousse Cups without eggs?
Yes! Use aquafaba (chickpea brine) in place of egg whites and coconut cream for richness. It’ll still be fluffy and delicious.
How do I know when the mousse is ready to serve?
Once it’s firm to the touch and holds its shape when scooped, it’s ready. Usually takes 2 to 3 hours of chilling.
Conclusion
There you have it, a foolproof guide to making Chocolate Mousse Cups that are rich, airy, and absolutely irresistible. This dessert isn’t just easy; it’s a guaranteed crowd-pleaser with endless customization options.
Have you ever tried making mousse at home? What twist would you add to yours? Let me know in the comments!
If you enjoyed this Chocolate Mousse Cups recipe, don’t forget to explore our other dessert favorites like Strawberry Cheesecake Dump Cake or Limoncello Drizzle Mascarpone.
Follow us on Instagram or Pinterest @TidbitRecipe for more homey treats made simple!
Easy Chocolate Mousse
Ingredients
Basic Ingredients
- dark chocolate (70% cocoa)
- heavy cream
- eggs
- sugar
- vanilla extract
- salt
Instructions
- Melt chocolate over a double boiler.
- Separate eggs and whip cream and egg whites in separate bowls.
- Temper egg yolks with the melted chocolate.
- Gently fold whipped cream into the chocolate mixture.
- Fold in whipped egg whites carefully.
- Spoon mixture into cups and chill for at least 2 hours.
- Serve chilled and enjoy!